PLASTICADE RUBBER PRODUCTS
Rugged Performance. Environmental Innovation.
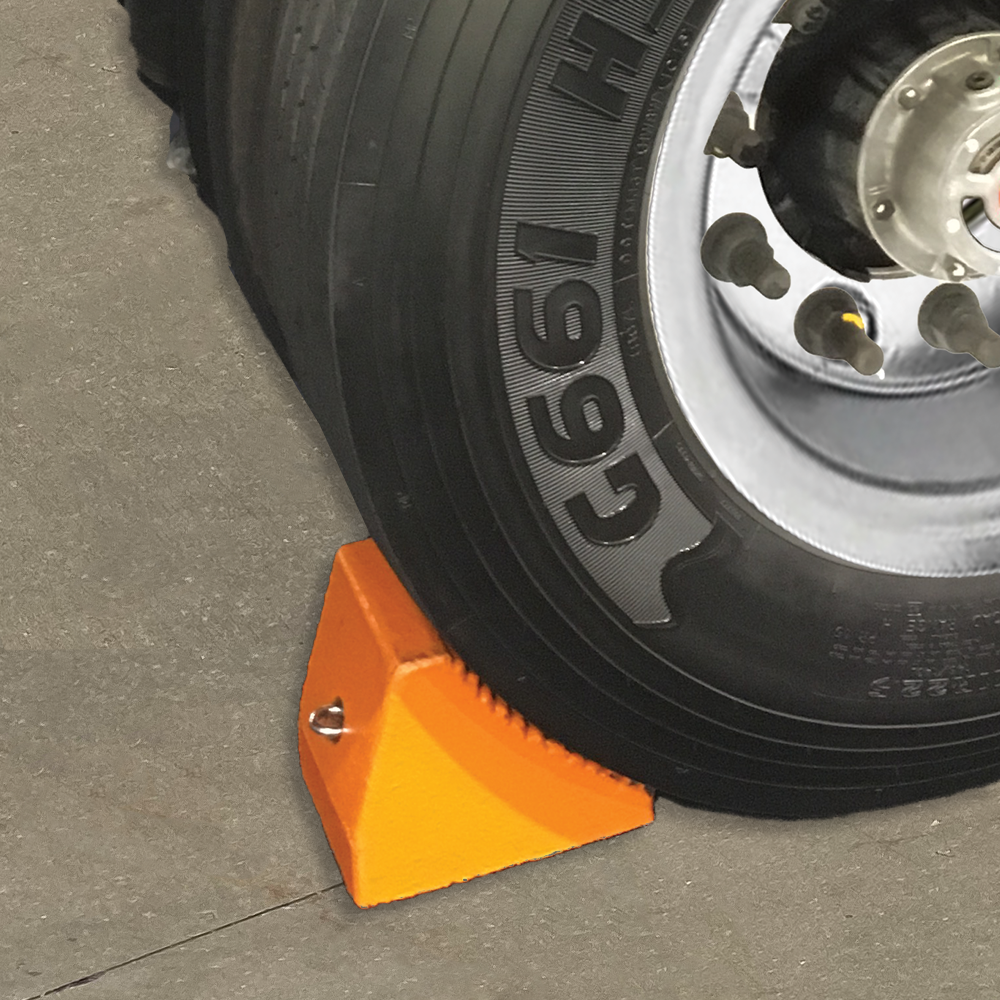
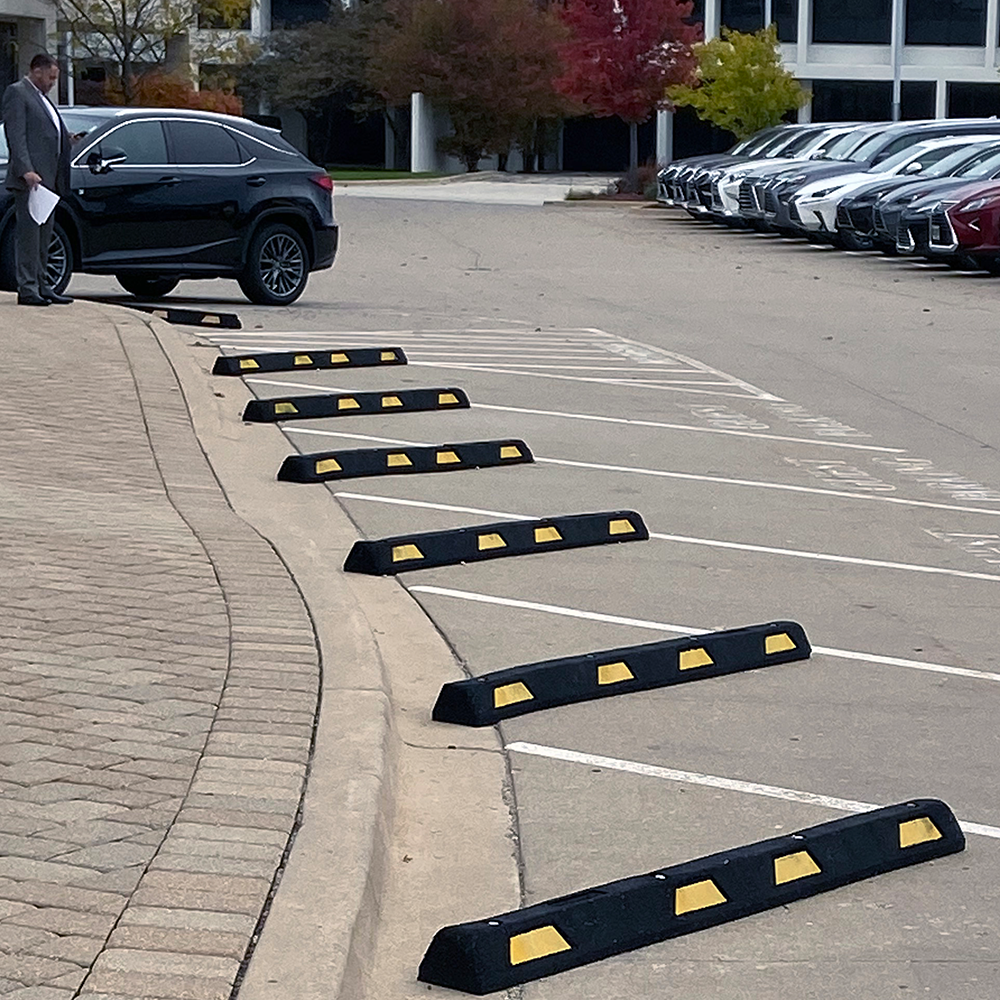
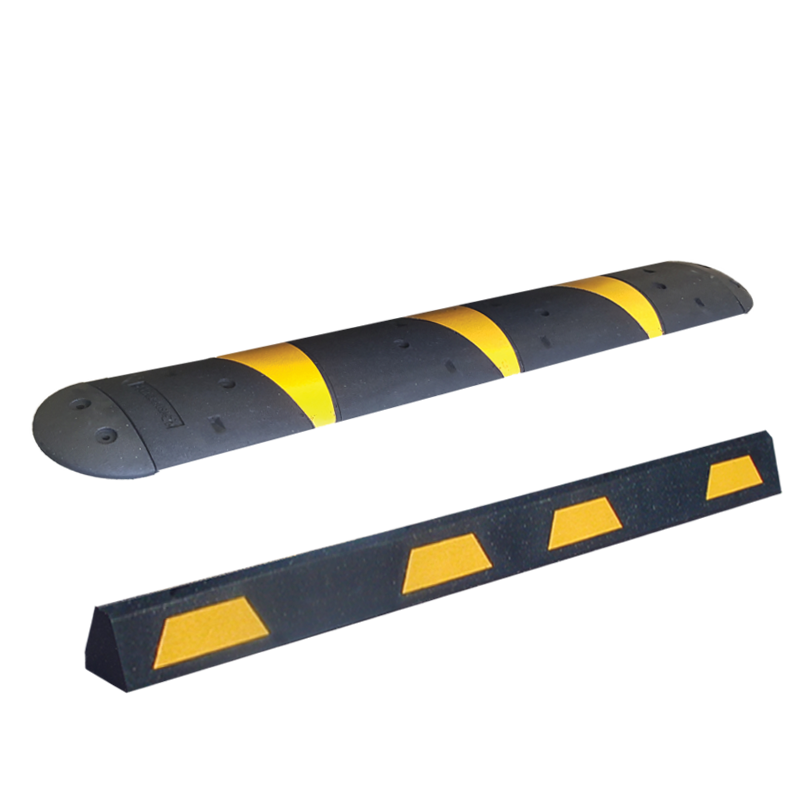
Manufactured from post-consumer recycled tire rubber, we custom-mold to your application. Ensure safety in traffic, parking, airport and industrial environments with rugged, affordable solutions from Plasticade.
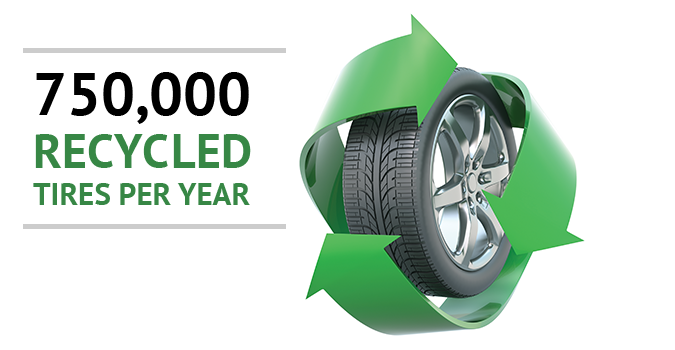
Plasticade reclaims over 9 million lbs. of rubber each year. Our rubber products not only deliver performance and long life, the recycled content helps conserve energy and material resources.
We manufacture a full line of high-quality molded-rubber safety products. Contact us for custom-molding to your application
Car Stops • Speed Bumps • Speed Humps • Automotive & Industrial Wheel Chocks